

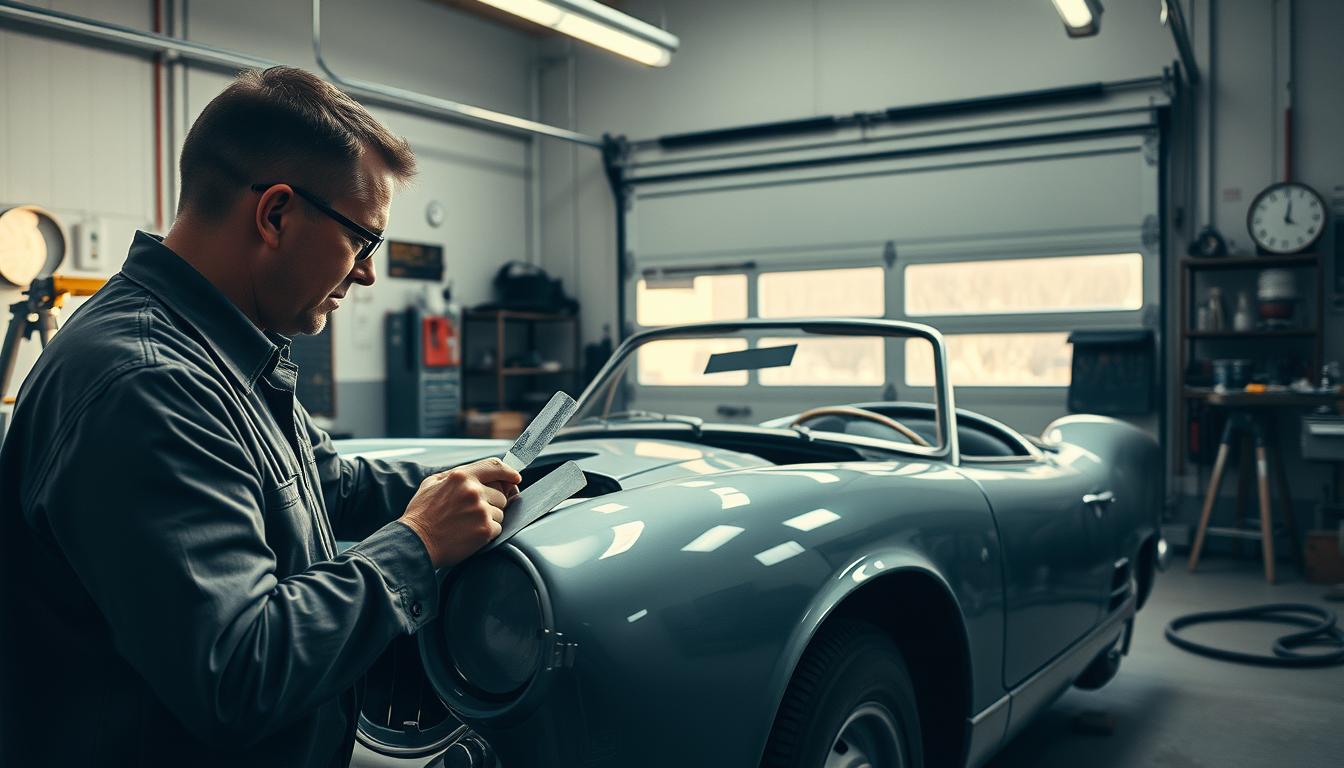
At Miracle Body and Paint Collision Center, our technicians frequently use automotive body filler to restore vehicles to their original condition. This versatile material is perfect for repairing minor damage on a car’s exterior surface, including scratches, dents, and rust perforations.
The body filler is a two-component polyester resin that, when applied correctly, can yield professional-quality results. As experts in the auto body repair industry, we understand the importance of using the right material and following the correct process to achieve lasting repairs.
Key Takeaways
- Understanding the role of body filler in auto body repairs.
- Learning how to apply body filler for professional-quality results.
- Discovering the different types of body filler and their applications.
- Understanding the importance of proper preparation and finishing techniques.
- Gaining insights from experienced technicians at Miracle Body and Paint Collision Center.
Understanding Body Filler: What It Is and Why It’s Used
When it comes to restoring vehicles, body filler plays a pivotal role in achieving a flawless finish. Body filler, also known as filler or bog, is a substance used to repair dents, scratches, and other surface imperfections on vehicles. Proper application of body filler is crucial for a successful repair.
The Purpose of Body Filler in Auto Repair
Body filler serves as a critical component in auto body repair, enabling technicians to restore damaged surfaces to their original condition. It’s used to fill in dents, holes, and other imperfections, creating a smooth surface for painting. The quality of the body filler work directly impacts the final appearance of the vehicle. By making sure the surface is properly prepared and the filler is applied correctly, technicians can achieve professional-grade results.
Common Misconceptions About Body Filler
Despite its widespread use, body filler is often misunderstood. One common misconception is that it’s a “cheap fix” used only for low-quality repairs. However, body filler is a standard tool in even high-end vehicle restorations. Another myth is that body filler is used to cover up rust; in reality, rust must be removed before applying body filler to ensure a durable repair. Additionally, the application of body filler requires skill and the right techniques to achieve lasting results. Proper surface preparation, correct mixing ratios, and professional application techniques are essential for a successful outcome.
By understanding the true purpose and proper application of body filler, individuals can better appreciate the craftsmanship involved in auto body repairs. Whether it’s for a minor touch-up or a major restoration, body filler plays a vital role in achieving a flawless finish.
Types of Automotive Body Filler
When it comes to auto body repairs, the type of body filler used can significantly impact the outcome. Automotive body fillers are available in various grades, each with its unique characteristics and applications.
Standard Grade Body Filler
Standard grade body filler is the most basic type, suitable for minor repairs. It’s generally the most affordable option but may require additional coats and is more prone to shrinkage.
Medium Grade (Fiberglass) Body Filler
Medium grade body filler, often containing fiberglass, offers a balance between cost and performance. It provides better adhesion and durability than standard grade fillers, making it suitable for moderate repairs.
Premium Grade (Aluminum) Body Filler
Premium grade body filler, made with high-quality resin and microscopic aluminum particles, is the top choice for demanding repairs. It boasts superior stain resistance, is easier to sand, and offers excellent adhesion, making it ideal for larger areas and visible surfaces.
- Offers the best adhesion properties and stain resistance.
- Easiest to sand and finish, often eliminating the need for additional putty or glaze layers.
- Resists shrinkage better than other options, making it the professional’s choice for high-quality repairs.
Although premium grade body filler is the most expensive option, its superior performance and time savings during the finishing process justify the higher cost.
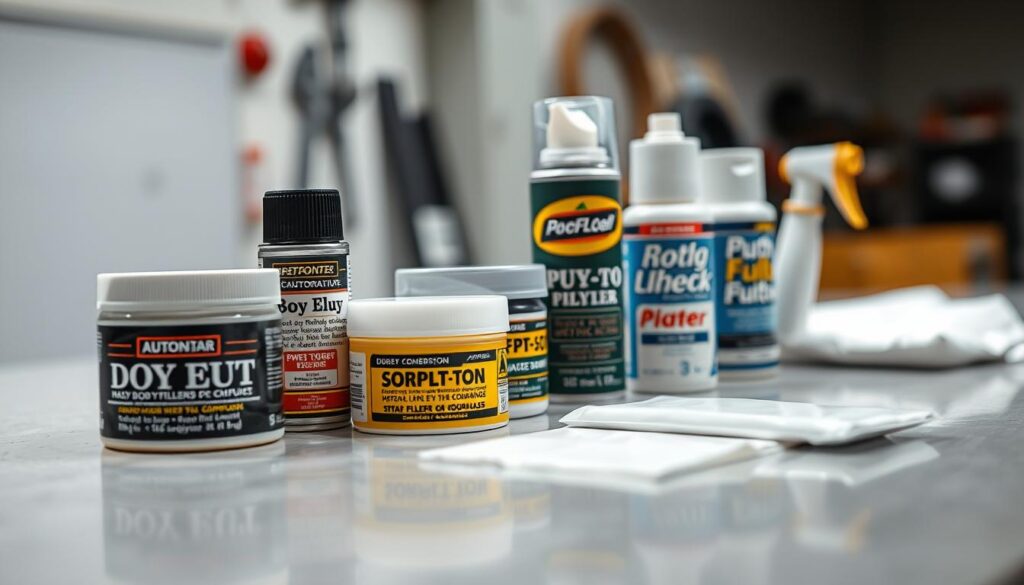
When to Use Body Filler: Appropriate Applications
To achieve a flawless finish in auto body repairs, it’s essential to understand the appropriate applications of body filler. Body filler is a versatile material used to repair dents, scratches, and other imperfections on a vehicle’s surface. However, its use must be judicious to ensure a durable and visually appealing repair.
Ideal Scenarios for Body Filler Application
Body filler is ideal for cosmetic repairs where the damage is superficial and hasn’t compromised the structural integrity of the metal. It’s perfect for filling small dents, smoothing out rough surfaces, and preparing the area for painting. We recommend using body filler on clean, dry, and rust-free surfaces to ensure a strong bond between the filler and the metal.
Where Not to Use Body Filler
There are several scenarios where body filler should not be used. Rusted surfaces are a no-go because body filler won’t adhere properly to rust, leading to a bumpy finish and potentially allowing the rust to spread beneath the repair. Similarly, areas near full gas tanks should be avoided due to the flammable nature of body filler before it cures. High-heat areas are also not suitable as excessive heat can cause the filler to cure too quickly, resulting in an uneven application. Lastly, body filler should not be used for structural repairs where the metal’s integrity is compromised; it’s a cosmetic solution, not a structural one.
By understanding the appropriate applications and limitations of body filler, we can ensure a successful and lasting auto body repair. Proper use of body filler not only enhances the appearance of the vehicle but also contributes to its overall durability.
The Body Filler Process: Step-by-Step Guide
Body filler application is an art that requires patience, the right materials, and a step-by-step approach. When done correctly, it can significantly enhance the appearance of a vehicle by smoothing out imperfections on the body.
Preparing the Surface Properly
The first step in the body filler process is to prepare the surface. This involves cleaning the area to remove any dirt, rust, or old paint. We ensure the surface is roughened to create a better bond between the metal and the filler.
Mixing Body Filler and Hardener
Next, we mix the body filler with the hardener. It’s crucial to follow the manufacturer’s instructions for the correct ratio. Mixing should be thorough to avoid any weak spots in the filler.
Applying the Filler Correctly
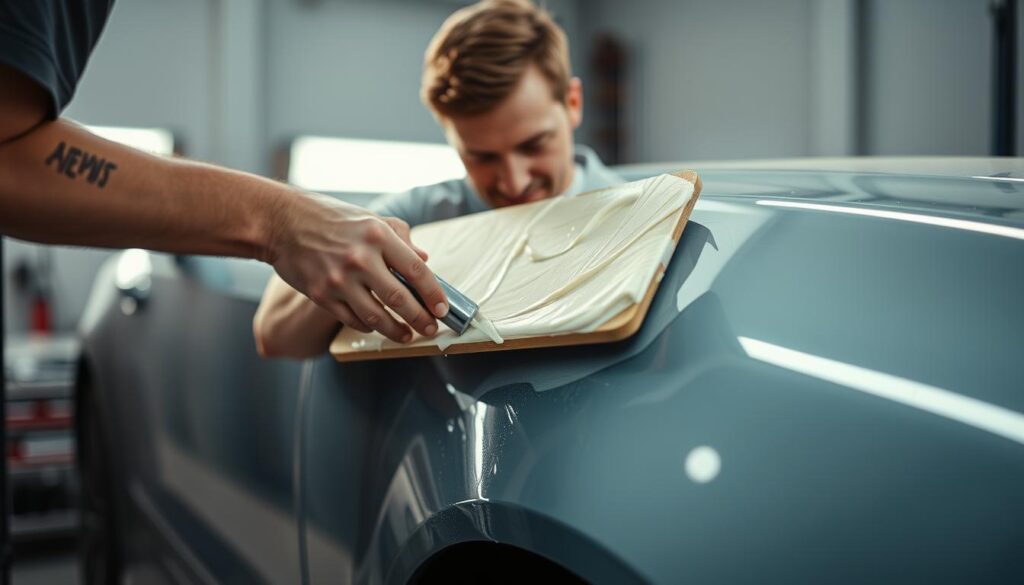
We then apply the mixed filler to the prepared surface, using a spreader to cover the area evenly. It’s essential to work quickly, as the filler starts to cure soon after mixing. The application should be smooth and even to minimize the need for extensive sanding later.
Shaping Before Full Cure
After applying the filler, we wait for it to harden slightly. This stage, often referred to as the “cheese” stage, is critical for shaping. We use body files and scrapers to rough shape the filler before it fully hardens, saving time in the sanding process. If the filler starts to crack, we wait until it’s fully hardened before proceeding.
By following these steps and understanding the critical time for shaping, we can achieve a smooth finish with minimal sanding, making the entire body filler application process more efficient.
Sanding and Finishing Body Filler
To ensure a seamless repair, it’s essential to master the techniques of sanding and finishing body filler. Sanding is a critical step that requires patience and attention to detail to achieve a smooth finish that is ready for primer and paint.
Choosing the Right Sandpaper Grit
Selecting the appropriate sandpaper grit is vital for effective sanding. Start with a coarse grit to remove excess body filler and gradually move to finer grits for a smoother surface. We recommend beginning with 80-100 grit sandpaper and progressing to 220-240 grit for the final sanding.
Proper Sanding Techniques
Proper sanding techniques are crucial to avoid creating scratches or swirl marks. Use a sanding block to keep the sandpaper flat and prevent uneven sanding. Sand in a consistent, back-and-forth motion, applying moderate pressure. It’s also essential to check your work frequently to avoid over-sanding.
Checking for Imperfections
After sanding, inspect the surface for any imperfections. Use a straight edge and a light source to identify high and low spots. Apply a Dry Guide Coat to highlight small blemishes that may not be visible to the naked eye. We also recommend using the “hand feel” technique, running your palm over the surface to detect subtle irregularities.
- Use a straight edge and light source to identify high and low spots.
- Apply a Dry Guide Coat to highlight small blemishes.
- Employ the “hand feel” technique to detect subtle irregularities.
- Check the repair from multiple angles and lighting conditions.
- Mark and address any imperfections found before proceeding to the priming stage.
By following these steps and using the right techniques and tools, you can achieve a flawless finish that is ready for primer and paint, ensuring a professional-grade repair.
Professional Tips for Perfect Body Filler Results
Achieving flawless body filler results requires a combination of the right techniques and tools. To ensure a professional finish, it’s essential to understand the best practices for applying body filler.
Common Mistakes to Avoid
When working with body filler, common mistakes can lead to subpar results. These include improper surface preparation, incorrect mixing ratios, and applying too much filler at once. By avoiding these mistakes, you can achieve a smoother finish and reduce the need for additional sanding.
Tools That Make the Job Easier
The right tools are crucial for achieving best results with body filler. Essential tools include a quality mixing board, flexible Bondo spreaders, and proper sanding blocks. Specialized tools like contour gauges and profile boards can help recreate complex curves. For instance, using a mixing board ensures accurate mixing ratios, while a good sander with an 80 grit abrasive sheet helps in achieving a smooth surface.
Conclusion: Trust the Experts for Your Auto Body Repair Needs
Quality auto body repair hinges on the proper application of body filler, a process that demands precision and expertise. Throughout this article, we’ve explored the intricacies of the auto body repair process, from preparing the surface to achieving best results in sanding and finishing.
While understanding the body filler application is valuable, achieving professional-grade results requires experience and the right tools. At Miracle Body and Paint Collision Center, our technicians are trained in all aspects of the repair process to ensure seamless, long-lasting repairs on your vehicle.
Trusting professionals for collision repair is not just about aesthetics; it’s also about maintaining your vehicle’s value. Cutting corners on auto body repair can lead to more expensive problems down the road, making professional service a wise investment. For expert repair and restoration, contact Miracle Body and Paint Collision Center today.
About Miracle Body and Paint Collision Center
Miracle Body and Paint Collision Center stands out as a leader in auto body repair, committed to delivering the best results for every vehicle. With two convenient locations in San Antonio, we serve the entire metropolitan area. Our team brings years of experience and specialized training to every auto body repair job, ensuring that every detail is handled with precision.
We use only the highest quality materials and state-of-the-art equipment for auto body and paint services, including collision repair, paint matching, dent removal, and complete restoration services. Our comprehensive services are designed to restore your vehicle to its original condition, ensuring a seamless finish that meets your expectations.
For a free estimate on your collision repair needs, please don’t hesitate to reach out. You can contact our Northwest San Antonio (Leon Valley) location at (210) 680-1987 or visit us at 6217 Grissom Rd., San Antonio, TX 78238. Trust us with your auto body repair and paint needs, and experience the difference that quality workmanship and customer satisfaction can make.

