

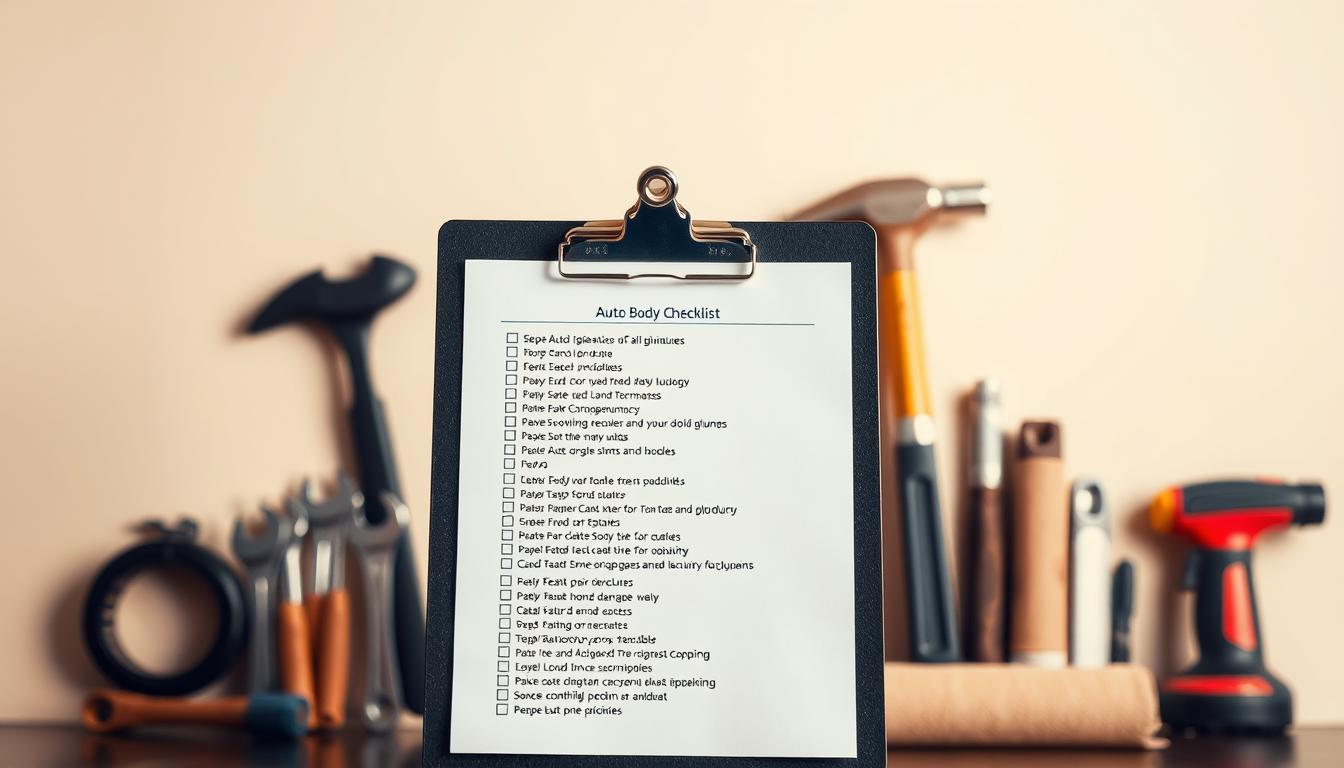
Prepare smart to avoid costly mistakes after a collision. Start by documenting damage with clear photos and notes, and gather insurance, registration, warranty, and service history so your chosen shop can work quickly.
You should choose certified shops—look for I-CAR Gold Class, OEM backing, or ASE credentials—to protect quality and safety. Get written estimates, understand timelines, and confirm parts and paint choices before work begins.
Minor scratches can cost $150–$2,000 while bumper or side impact repairs range widely. Timelines vary: small fixes often take a few days; major collision work can take weeks. Inspect repairs closely before you drive away.
When you’re ready, Miracle Body and Paint Collision Center serves San Antonio at North West (Leon Valley) at (210) 680-1987, 6217 Grissom Rd., and North East at (210) 858-3630, 4650 Walzem Rd.
Key Takeaways
- Document damage with clear photos and notes before you go to the shop.
- Bring insurance, registration, warranty, and service history to speed approvals.
- Choose certified shops for better communication and higher quality work.
- Know realistic costs and timelines so you can plan transportation and payments.
- Verify parts, paint match, and function before accepting the finished vehicle.
Why Your Checklist Matters for Quality Collision Repair in San Antonio
A clear, shared checklist keeps every repair step visible so your vehicle returns safe and complete.
Good process prevents missed inspections and costly rework. A written plan organizes pre-repair inspection, parts verification, authorizations, and final checks.
That structure maps each step to known standards like OEM procedures and I-CAR guidance. When a shop follows those standards, you get consistent quality across technicians and shifts.
Checklists also improve communication with your insurer. They capture the information adjusters need—claim numbers, supplements, and approvals—so work starts without unnecessary time lost.
- Clear task breakdown reduces missed inspections and delays.
- Defined quality gates catch issues early, lowering comebacks.
- Documented steps let the shop justify parts and labor to insurers.
Miracle Body and Paint Collision Center uses defined checklists at both San Antonio locations to keep you informed and confident in the outcome. Use the tips here to keep these standards in mind when you choose a shop.
Auto Body Repair Checklist
Capture the facts early—photos, docs, and notes—so the repair process runs without guesswork.
Document damage: photos from all corners and detailed notes
Take clear photos from each of the four corners so each image shows two sides. Add short written notes that call out dents, scrapes, and alignment issues.
Collect insurance, vehicle, and warranty information
Gather your policy card, claim number, adjuster contact, police report if relevant, registration, and maintenance records. Check warranties or recalls by VIN with your dealer or NHTSA.
Select a certified repair shop and confirm coverage
Look for I-CAR Gold Class, OEM, or ASE credentials. Ask about DRP status, parts policies, and warranty coverage before you schedule work.
Prepare your vehicle and keys for drop-off
Remove personal items, note existing issues, and supply primary and backup keys with any special start instructions.
Review estimates, timelines, and authorization
Confirm itemized labor, parts (OEM vs aftermarket), paint, and expected timeline (minor: 1–3 days; major: 1–3 weeks). Authorize work in writing.
Plan for repair process updates and final inspection
- Agree on update frequency and preferred contact method.
- Schedule a final review for color match, panel gaps, and function.
- Keep copies of all information to share with your insurer.
Use this checklist with Miracle Body and Paint Collision Center to streamline approvals and keep your San Antonio repair on schedule.
Pre-Repair Documentation: Photos, Notes, and Digital Records
Collect clear, dated evidence so your estimator and insurer share the same baseline.
Exterior walkaround: capture two sides per photo for clear reference
Start with a methodical walkaround and take corner photos that show two sides at once. This helps document panel gaps, alignment, and overlapping lines.
Written notes that complement images and support claims
Label each image by location and add short notes that describe severity, suspected cause, noises, or handling changes. Enable date stamps and include odometer mileage.
- Step: Add close-ups for dents, scratches, cracked lenses, and wheel rash so details are obvious.
- Photograph VIN, license plate, and accessories that could be removed or affected during work.
- Save claim photos, policy card, and police report in one digital folder for easy access by shop and insurer.
- Ask if your shop uses a Digital Vehicle Inspection system to create time-stamped records and validate pre-existing damage.
Bring your photo set and notes to Miracle Body and Paint Collision Center so estimators can align quickly with your insurer and speed the repair process.
All Required Documents: Insurance, Registration, Service History, Warranty
Arriving with organized documents speeds up coordination between your shop and your insurance adjuster. Bring a clear packet so estimators can match claims and start the repair process quickly.
Insurance packet: Have your current policy card, claim number, adjuster contact, claim photos, and the police report number if applicable. This information lets the shop access your insurer’s estimate without delays.
Vehicle papers: Bring current registration, your driver’s license, recent maintenance records, and the title if a lender or state requires it. Keep copies of service records to show pre-existing condition.
Warranty and recalls: Call your dealer with the VIN to confirm remaining coverage and transfer rules. Check the NHTSA site for active recalls tied to your VIN and tell the shop about any recall-related work.
- Make sure names and addresses match across all documents.
- Share aftermarket warranty or service contract details for authorization.
- Ask the shop to scan and attach your documentation to the work order.
- Choose the shop’s secure method for sharing sensitive information.
Arrive at Miracle Body and Paint Collision Center with these items to speed intake and insurer coordination so your vehicle returns safe and complete.
Choosing the Right Repair Shop: Certifications, Coverage, and Reputation
A well‑certified shop that communicates clearly will speed approvals and reduce costly surprises.
Verify training and manufacturer ties. Look for I-CAR Gold Class, OEM certifications, and ASE‑certified technicians. These credentials show a commitment to current standards and correct processes for modern materials and sensor calibrations.
Confirm insurer coordination and written guarantees. Ask if the shop participates in your insurer’s direct repair program. Request a written warranty that covers workmanship and paint so you know what protections apply after delivery.
Reputation, parts policy, and communication
- Review BBB ratings and recent customer reviews for trends in timeliness and service quality.
- Clarify parts policies—OEM, CAPA, or aftermarket—and how they affect safety and value.
- Agree on communication: who updates you, how often, and whether photos or DVI reports are shared.
Miracle Body and Paint Collision Center coordinates with insurers, offers warranties, and keeps clear customer information at both San Antonio locations so your vehicle returns to you with verified quality.
Parts and Materials: OEM, CAPA-Certified, and Aftermarket Considerations
Parts selection shapes the long-term performance and resale value of your vehicle after a collision.
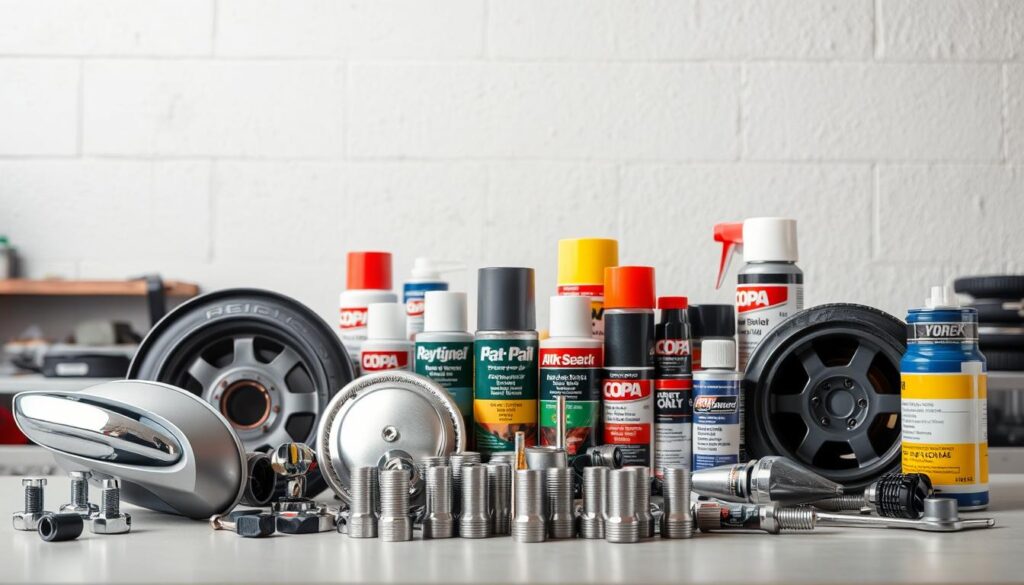
Understand your options so you can balance safety, cost, and finish before you approve work.
- OEM parts come from the manufacturer and usually offer the best fit and finish for structural or ADAS components.
- CAPA-certified parts are tested to meet OEM standards and can cost up to 50% less while maintaining durability.
- Aftermarket parts vary; they can be 20–50% cheaper, but studies show only about 25% match OEM-level quality.
Ask your shop how they verify each part—cross-checking part numbers, dimensions, and compatibility—to avoid delays and reorders.
Have the shop inspect parts on arrival for defects and request written parts warranty details. Confirm paint and refinish materials meet manufacturer specs for color match and longevity.
- Clarify when OEM is required for safety or structural work versus when CAPA-certified parts are acceptable.
- Get documentation of parts sources and keep copies with your records for warranty or resale questions.
Before you authorize work, ask Miracle Body and Paint Collision Center to explain parts options and warranties so you can align costs, coverage, and expectations.
Prepare Your Vehicle for Drop-Off
Before you drop off your vehicle, take a few quick steps to protect belongings and speed the intake process. These small actions save time and reduce disputes later.
Clean out personal items from cabin, trunk, and storage areas
Remove everything from the glove box, console, trunk, doors, and under the seats. Technicians need clear access to panels, trim, and wiring.
Note existing mechanical, cosmetic, and electronic settings
Record any warning lights, odd noises, alignment pulls, or cosmetic defects. Photograph radio presets, seat and mirror positions, and drive modes so they can be restored.
Organize primary and backup keys; record special procedures
Hand over the main key and keep a backup separate. Remove heavy keychains to protect the ignition. Turn off alarms and write any special start or entry steps.
- Clean the cabin, trunk, and storage areas.
- Note current issues and photograph items you leave intentionally.
- Bring one key to give the shop and keep a backup with you.
- Share prior repair paperwork so techs know pre-existing conditions that may affect disassembly time.
- Label child seats and ask about reinstallation after structural or airbag work.
- Confirm your preferred communication method and expected update frequency to save time.
Quick tip: Arrive a few minutes early to finish intake paperwork and review authorization without rush. These tips help your car move through repair smoothly and protect your belongings.
Estimate, Timeline, and Authorization: What to Review Before Work Begins
Start by asking the shop for a clear, itemized estimate that separates labor, parts, and paint so you know exactly what you are approving.
Review the full cost breakdown: labor hours, parts (OEM versus aftermarket), and paint/materials. Typical costs range from scratches at $150–$2,000 to frame work at $10,000–$30,000. Ask the shop to note part numbers and warranty terms.
Confirm realistic timeframes for your job. Minor work typically takes 1–3 days; major collision work can run 1–3 weeks. Paint-only jobs usually need 2–4 days for small areas and 1–2 weeks for larger panels. Restorations can take 4–8+ weeks. Keep in mind that insurance reviews often add 3–5 days.
Scheduling variables to watch
Parts availability, insurer inspection, and hidden damage found at teardown can extend time and costs. Make sure the estimate lists start and completion dates and any contingency notes for additional inspection after teardown.
Use a standardized form
Ask the shop to use a standardized estimate and authorization form that includes customer and vehicle information, damage description, labor and parts line items, payment terms, and signature lines. Sign and date the form to avoid disputes.
- Verify payment methods and whether supplements require your pre-approval.
- Ask how changes are documented—photos, DVI updates, or revised estimates.
- Clarify rental or alternative transportation while your vehicle is in the shop.
Miracle Body and Paint Collision Center provides written estimates, timelines, and signed authorizations at both San Antonio locations so you can approve work with confidence.
Repair Process, Surface Preparation, and Paint Quality Standards
A controlled finish starts with checks under the frame and careful alignment of panels before paint goes on.
Structural, panel, and suspension inspection
Inspectors verify structural points and measure panel gaps so your vehicle tracks straight and parts wear evenly.
Technicians confirm suspension and wheel alignment after any frame or mounting work to prevent uneven tire wear and handling issues.
Surface preparation sequence
Follow the strict order: initial wipe down, shampoo to remove sanding residue, blow off with compressed air, water-based cleaner, then a solvent wax and grease remover.
Proper masking and dust control protect adjacent panels and trim from overspray that can ruin a finish.
Paint mixing and application essentials
Accurate mixing—correct reducers and hardeners at exact ratios—supports color match and a durable film.
Manage booth temperature and humidity, set the gun (fluid tip, air cap, pressure) for correct atomization, and build even film thickness. Allow full curing before polishing to avoid rework.
- Mid-process inspection: check flash times, overlaps, and film build to catch defects early.
- Standards and materials: use approved products and documented procedures to support warranty coverage.
- Final validation: inspect color under natural and artificial light to confirm blend across adjacent panels.
Ask Miracle Body and Paint Collision Center to explain how they verify structural integrity, alignment, surface prep, and paint mixing to achieve factory-level results.
Final Inspection and Delivery: Functionality, Finish, and Road Test
Finish strong: a final inspection confirms your vehicle looks and works as promised before you sign paperwork.
Cosmetic review
Begin with a careful walkaround. Verify color match in sun and shade, check texture and gloss, and confirm even panel gaps without overspray.
Functional checks
Open and close doors, hood, trunk, and fuel flap to check latches and seals. Test windows, mirrors, lights, signals, cameras, and sensors so electronics work as intended.
Test drive and documentation
Take a short test drive with a shop representative to assess steering, braking, and noise. Review calibration reports for ADAS and alignment and attach them to your claim file.
- Inspect underhood fasteners, splash shields, and wheel liners for secure installation.
- If you spot issues, communicate them immediately and request a written plan and timeframe.
- Leave with an itemized final invoice, warranty details, and updated photos for insurer records.
At Miracle Body and Paint Collision Center, you’ll review finish, fit, and function before signing. Good communication and clear documentation protect you if damage or issues appear later.
Conclusion
End the process confidently by verifying warranties, inspection reports, and final photos before you sign off.
You now have a complete, practical guide to move from documentation and estimates to paint standards and final inspection. Use it to compare services and to ask the right questions about parts replacement, dent removal, and finish options.
When you want a shop that values quality and clear communication, choose a local San Antonio leader. Our experienced team handles collision repair, auto body repairs, and body repairs with proven processes that keep costs and timelines in mind.
Ready to move forward? Hire Miracle Body and Paint Collision Center to repair your vehicle at the location most convenient for you.
North West — Leon Valley: (210) 680-1987, 6217 Grissom Rd., San Antonio, TX 78238.
North East: (210) 858-3630, 4650 Walzem Rd, San Antonio, TX 78218.

